
Use the tabs at right to navigate this quick guide.
1. Log-in at yourcompanyportal.com

For help logging-in go to How to login or resetting your password
2. Click Generate Invoice tile
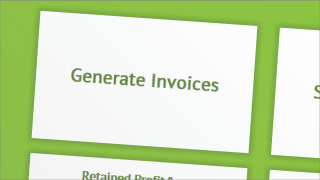
You’ll see the Generate Invoices tile on your main dashboard once logged-in.
3. Add or adjust reference details

Most fields will default but always check and please contact the team if you’re unsure or notice an error.
4. Check the default address details
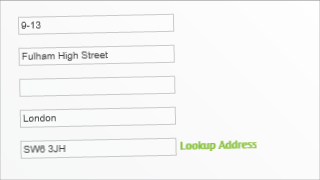
Again, please always check.
5. Select the period you’re invoicing for

Tip: Click the empty fields to reveal the calendar dropdown.
6. Check description, add days/hrs and a rate
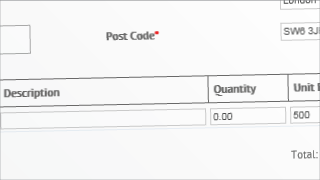
The description is automated but is fully editable.
7. Check it and click Save and Email
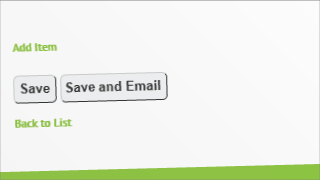
Saving stores your invoice for future editing. Save and Email both saves the invoice and sends the invoice via email to the contact.
8. Save if agency is self-billing

Saving stores your invoice.